Templates
InPrint 3 comes with a wide variety of ready-made templates that you can use as starting points for your resources. Templates are a big time-saver when resources you are creating on a daily basis have the same structure and format.
InPrint 3 comes with a wide variety of ready-made templates that you can use as starting points for your resources. Templates are a big time-saver when resources you are creating on a daily basis have the same structure and format.
 | To access the templates, click the File tab, then click the Templates button. You will then be shown a number of folders, sorted by topic, containing ready-made templates. Double-click to open the template of your choice. |
After opening a ready-made template, you can edit the content and appearance as you would with any other file.
A template is basically the same as any other document, but objects on the first page of a template are copied to every new page that's created in the document. This can be useful if you want to use the same layout across multiple pages.
If you do not want to use the same layout on a new page then you can edit or remove the template content on that page without affecting other pages in the document.
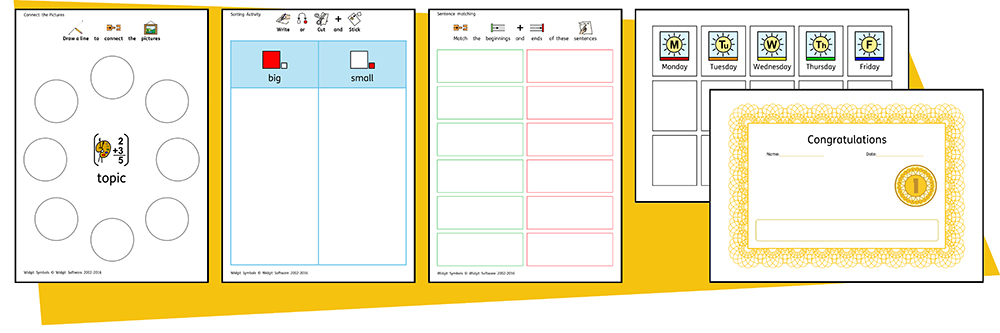
For each template there is a corresponding example Resource File that will show you how the filled-in template might look.
 | In InPrint 3, you have the option to save your documents as templates. If you need to create resources with the same layout over and over again, you can use a template to save time. |
Simply create the resource with the layout that you require, click on the File tab, then click Save As → Save Template As.
The default path for saving InPrint 3 templates is:
C:\Users\Public\Documents\Widgit\InPrint\Templates
Once your template is saved, you can open it from the Templates section of the File tab.
Remember: It's the first page of your file that will be the template page. This is copied to all new pages that are created.
You can download more templates from the Widgit website. To access more templates, click Templates on the File tab, then click the Get More Templates button at the bottom of the screen.