Creating Frames

To create a frame:
|
|
Click the Frame button on the Create toolbar on the left of the screen. |

|
|
Select the content mode, choosing from Symbols and Text or Text Only. |

|
|
Select the type of frame, choosing from Styled Frame, Clear Frame or Speech Bubble. You can also create a frame with your Pinned Style. Note: You can change the appearance of the frame later. |

|
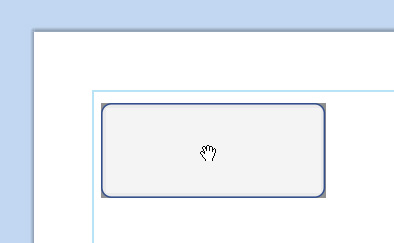
When you have selected which type of frame to create, a preview of the frame will be attached to your mouse pointer so that you can see exactly where it will be when you place it in your document. |
|
|
When the frame has been placed, you can move it by clicking on any edge of the frame and dragging, and you can resize it with the sizing handles. |
|

When creating, moving or resizing a frame, if you have Snapping turned on, your frame will snap to line up with other items or the page boundary. Snapping points are indicated with pale grey lines.
Once you have created your frame, you can click in the frame to start typing.
|
|
You can also add an image to the frame with the Replace with Image button on the Frames tab. |
