Creating Tables
To create a table:
|
|
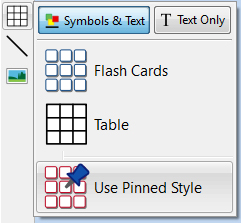
Click the Table icon in the Create toolbar to the left of the screen. |
|
|
Select the content mode, choosing from Symbols and Text or Text Only. |

|
|
Select the type of table, choosing from Flashcards or Table. You can also create a table with your Pinned Style. |

|
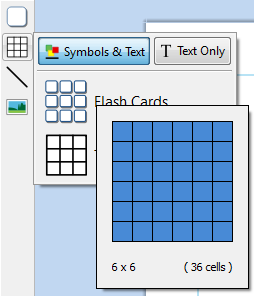
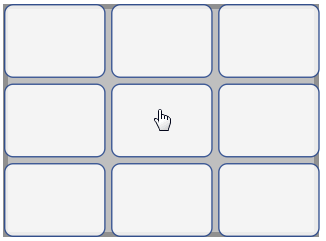
Note: You can edit either type of table later if you want to change its appearance or add or delete rows and columns. When you select the type of table that you would like to create, the table creator will appear under your mouse pointer. The table creator shows you the number of rows and columns and the total number of cells that will be created. Drag the table creator to the dimensions you require, click once to confirm your choice and create the table. A preview of the table will be attached to your mouse pointer so that you can see exactly where it will be when you place it in your document. |
|
|
Left-click on the page to place the table. Right-click to cancel creating the table, you can also press the Esc key on your keyboard to cancel creating the table. |
|
|
When the table has been placed, you can move it by dragging the edges and resize it with the sizing handles.
|
|
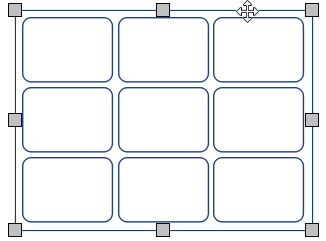
When creating, moving or resizing a table, if you have Snapping turned on, your table will snap to line up with other items or the page boundary. Snapping points are indicated with pale grey lines.
