Quick Start Create Toolbar
|
|
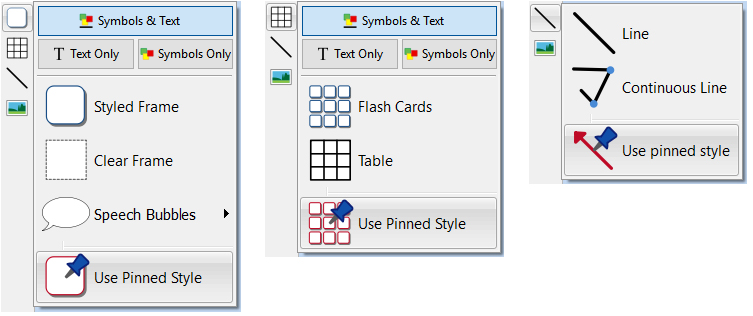
Create frames, speech bubbles and tables. Access images from your computer or the new Widgit Media library. All from one handy Create toolbar. |
InPrint 3 has been redeveloped from the ground up. You can do everything that you could in InPrint 2, but in much faster and simpler ways.
|
|
Create frames, speech bubbles and tables. Access images from your computer or the new Widgit Media library. All from one handy Create toolbar. |
|
|
Creating and editing tables is now much easier and more intuitive.
|
|
|
You can add images to your InPrint 3 documents from a number of sources, either as replacement symbols or as paragraph graphics. From the Create toolbar, you can choose to add your own images from your My Pictures folder, browse for pictures saved elsewhere on your machine / network or choose from over 4000 Widgit Media files pre-installed with InPrint 3. You can also copy images from the web and paste them directly into your documents. |
When you select an image, the Image tab will appear at the top of the screen. From here you can flip, rotate and resize the selected image. You can add a border or background colour. For symbols and Widgit Media graphics, you can edit the colours.

InPrint 3 has an all-new intuitive interface, giving you full access to all the features of the program.
The tab bar, which runs along the top of the screen, contains multiple tabs with controls for different aspects of the program.
There are two types of tab:

InPrint 3 gives you access to more than 4000 Widgit Media graphics as well as over 15,000 Widgit Symbols. Widgit Media graphics are beautifully drawn and cover a wide range of subjects. They can be used as illustrations in your resource or combined to build up scenes.

The Page Manager provides quick access to browse and manage your document.

If you need to create frames, tables, or lines with the same appearance again and again, you can 'pin' the style to save you from having to make the same changes each time. Simply right-click on a frame, table or line and select 'Pin this Style'.
 | Smart Symbolising recognises the part of speech for each word as you type, helping you to pick the correct symbol in moments. |
Combine words and combine symbols to make sentences clearer.


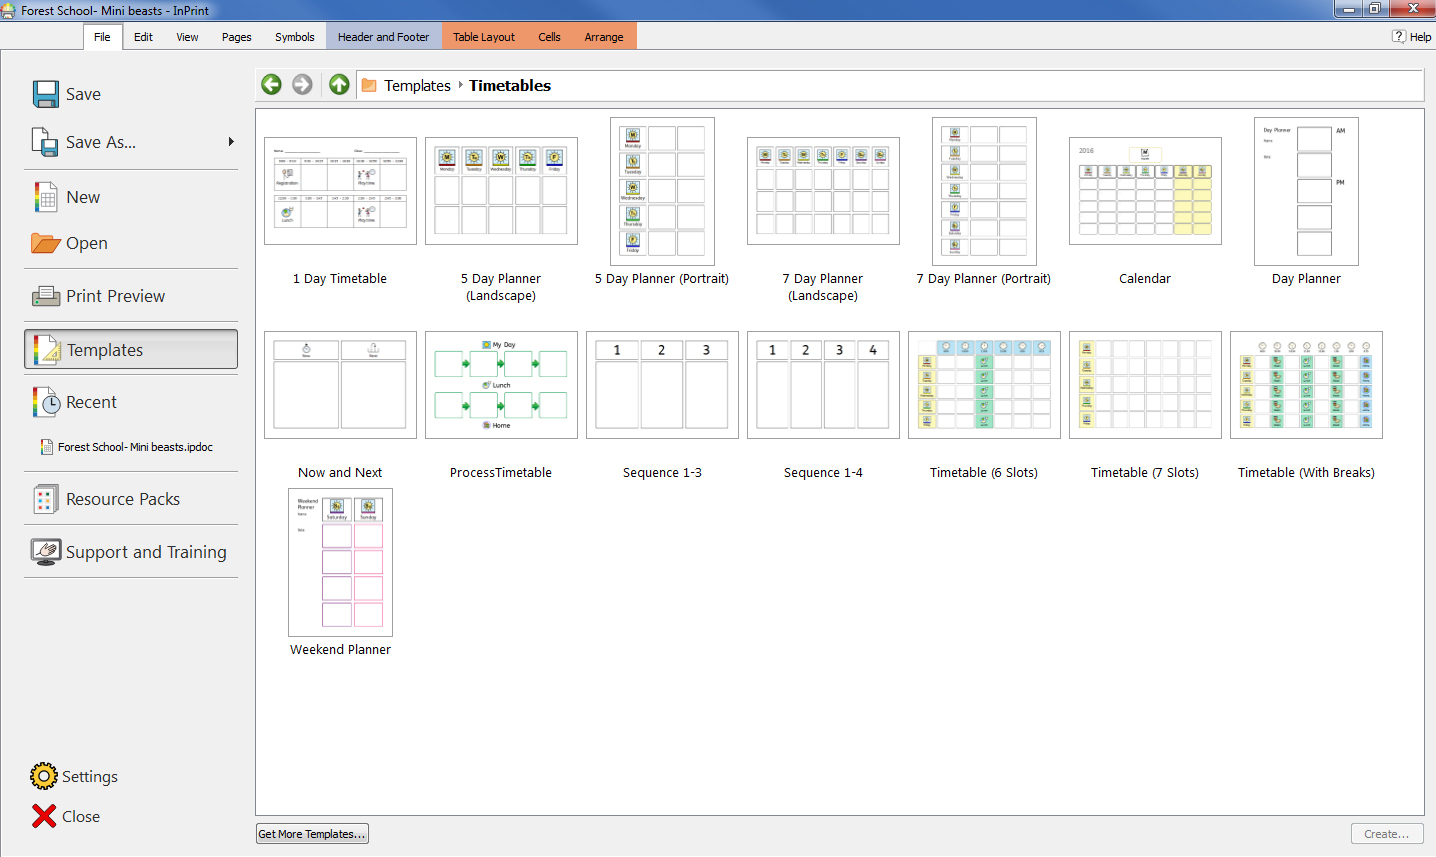
InPrint 3 comes with a wide variety of ready-made templates that you can use as starting points for your resources. Templates are a big time-saver when resources you are creating on a daily basis have the same structure and format.

Widgit publish a range of symbol-supported learning materials and symbol stories, including extensive topic-based packs 'ready to go' for special and mainstream education, health care, and home use.
InPrint 3 comes with a number of pre-installed resources packs that you can print out or customise.

The File tab uses thumbnails to give you quick and easy access to:

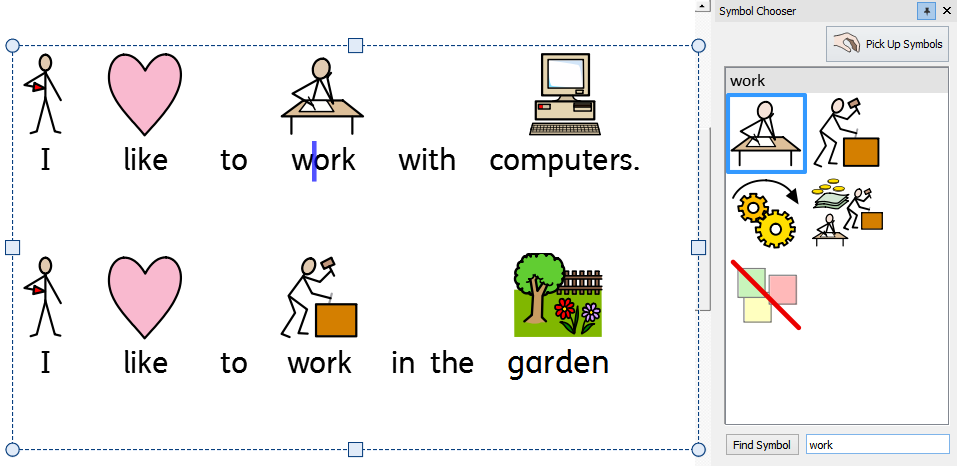
As you type, the Symbol Chooser displays the available symbols for your content.
You can use the symbol chooser to set defaults for your favourite symbols, or to search for symbols to add your document as images.
|
|
The Resource Library provides you with quick access to the images on your machine or network as well as over 4,000 Widgit Media files. By default, the resource library contains links to your 'My Pictures' folder, 'My Computer' and the Widgit Media files, but you can personalise the Resource Library by adding shortcuts to your most commonly used images and folders. If you have a lot of different folders that you like to use images from, you can create a list of favourites. |
|
|
Simple Spell Checker
Full Spell Checker The dictionary is fully customisable with your own vocabulary and common mistakes. |

The Arrange tab includes a number of tools to help you organise objects on the page.
You can use the Arrange tab to:
|
|
You can access the most common features of the program by right-clicking on an object to open the context menu. The available options in the context menu will change depending on the type of object that is selected. |

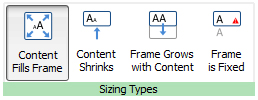
InPrint 3 has new Sizing Types for frames, tables and speech bubbles to give you greater control over how their content behaves: